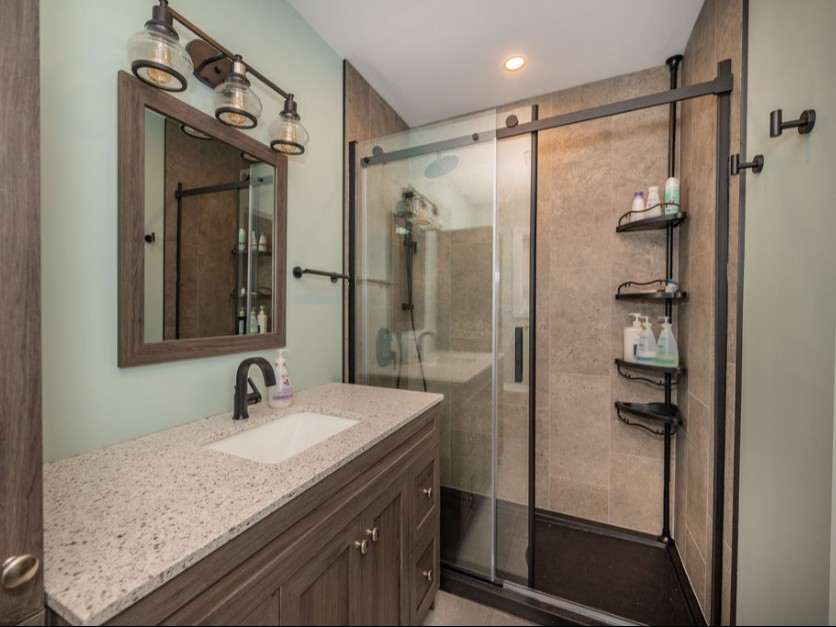
Finishing your Tiled Shower
Tiles are what everyone notices first in a custom shower. Colour, pattern, grout lines, and trim all shape the final look. But good tile design is not only about picking something attractive from a showroom wall.
Start With the Layout
A tile layout should be planned before installation begins. The goal is to avoid tiny slivers of tile at corners, ceilings, niches, curbs, and glass edges. Small cuts make a shower look unplanned, even if the tile itself is expensive.
At Quality Homes & Renovations our installers will find the centre lines, check the walls for plumb, and decide where full tiles and cuts should land. Sometimes this means shifting the layout slightly so the back wall looks balanced. They will ensure the grout lines continue through the niches & benches and everything looks deliberate and planned.
In a custom shower, the layout should also consider what you see first when entering the bathroom. The main feature wall deserves the cleanest, most balanced pattern.
Choosing Tile Size
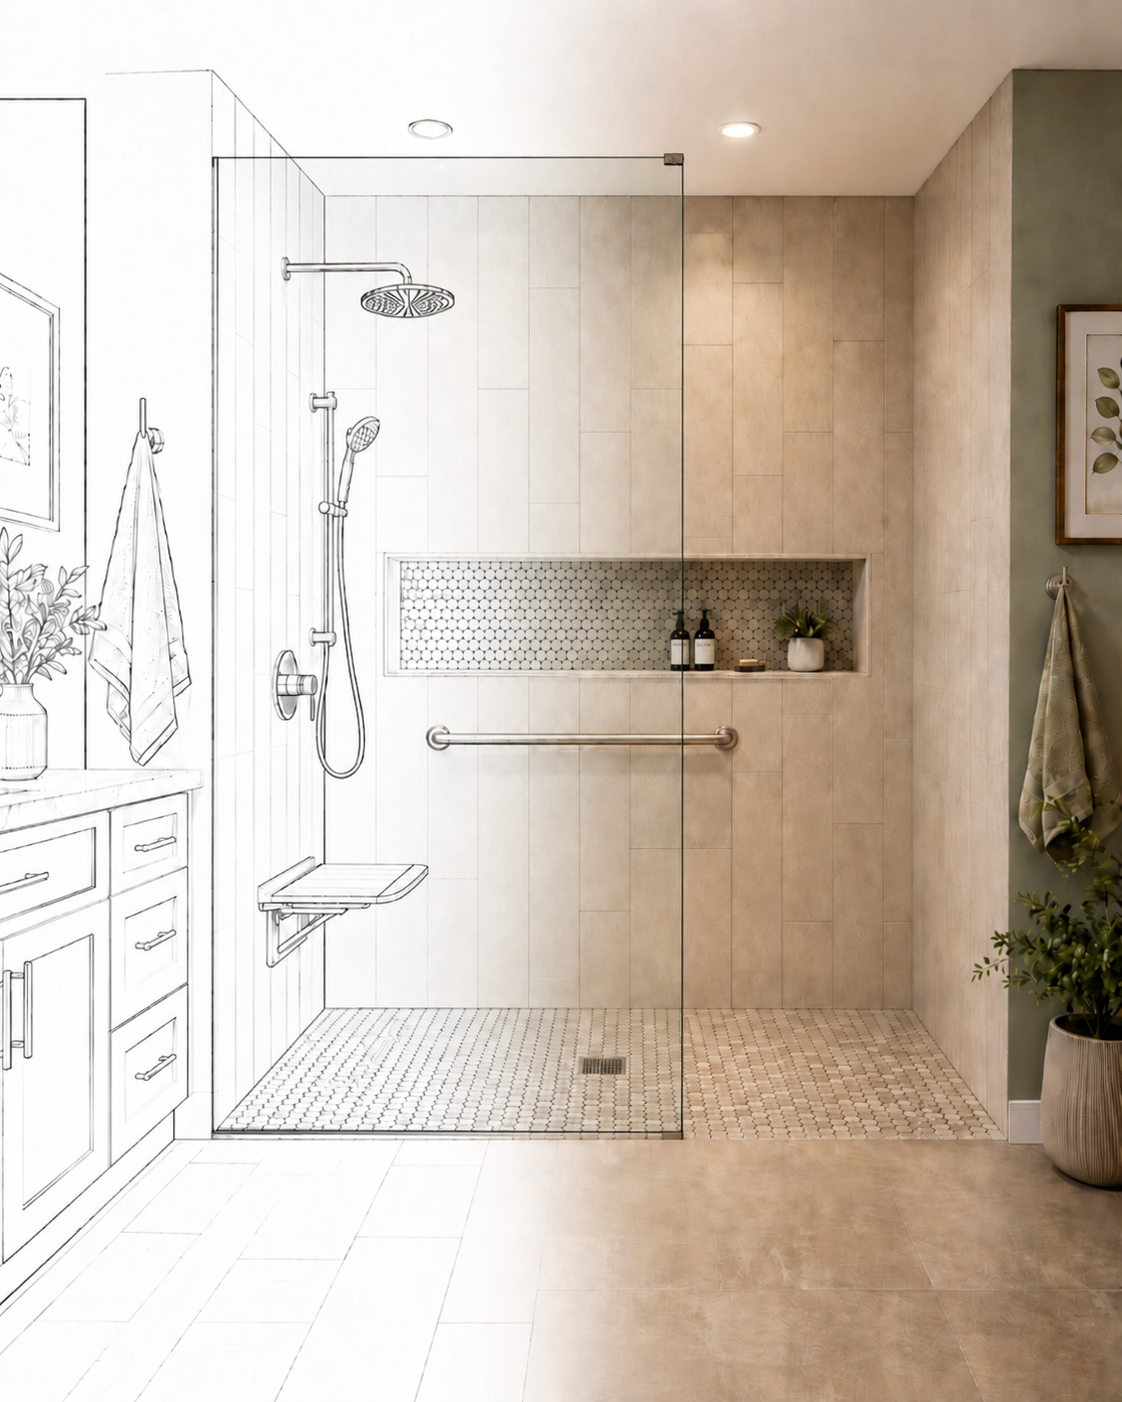
Large-format tile is popular because it creates fewer grout lines and a clean modern look. A 12 by 24 inch tile is common on shower walls and works in both traditional and contemporary bathrooms. Larger panels can look very elegant, but they require flatter walls, careful handling, and skilled installation.
Small tile still has an important place. Mosaic tile is used on shower floors because it follows the slope to the drain and provides more grout joints for traction. This is required with a centre drain where the floor slopes from several directions.
Using large tile on a shower floor requires a linear drain and a single-direction slope. This is a great look for a modern style.
Vertical or Horizontal Patterns
Rectangular tile can be installed horizontally or vertically. Horizontal layouts can make a shower feel wider, while vertical layouts draw the eye upward and can make the room feel taller. Stacked patterns look clean and modern. Offset patterns feel softer and more traditional.
Herringbone, chevron, and feature patterns can add interest, but they also increase labour and waste. They are best used with intention, not just because they are trendy.
Grout Colour and Maintenance
Grout colour changes the whole look of a shower. Matching grout makes the tile feel more seamless. Contrasting grout highlights the pattern. A white subway tile with dark grout has a very different feel than the same tile with white grout.
Maintenance matters too. Lighter grout can show staining more easily. Dark grout can show soap residue or mineral deposits, especially with hard water. In showers, choosing a quality grout and sealing where required helps with long-term performance.
Niches and Feature Areas
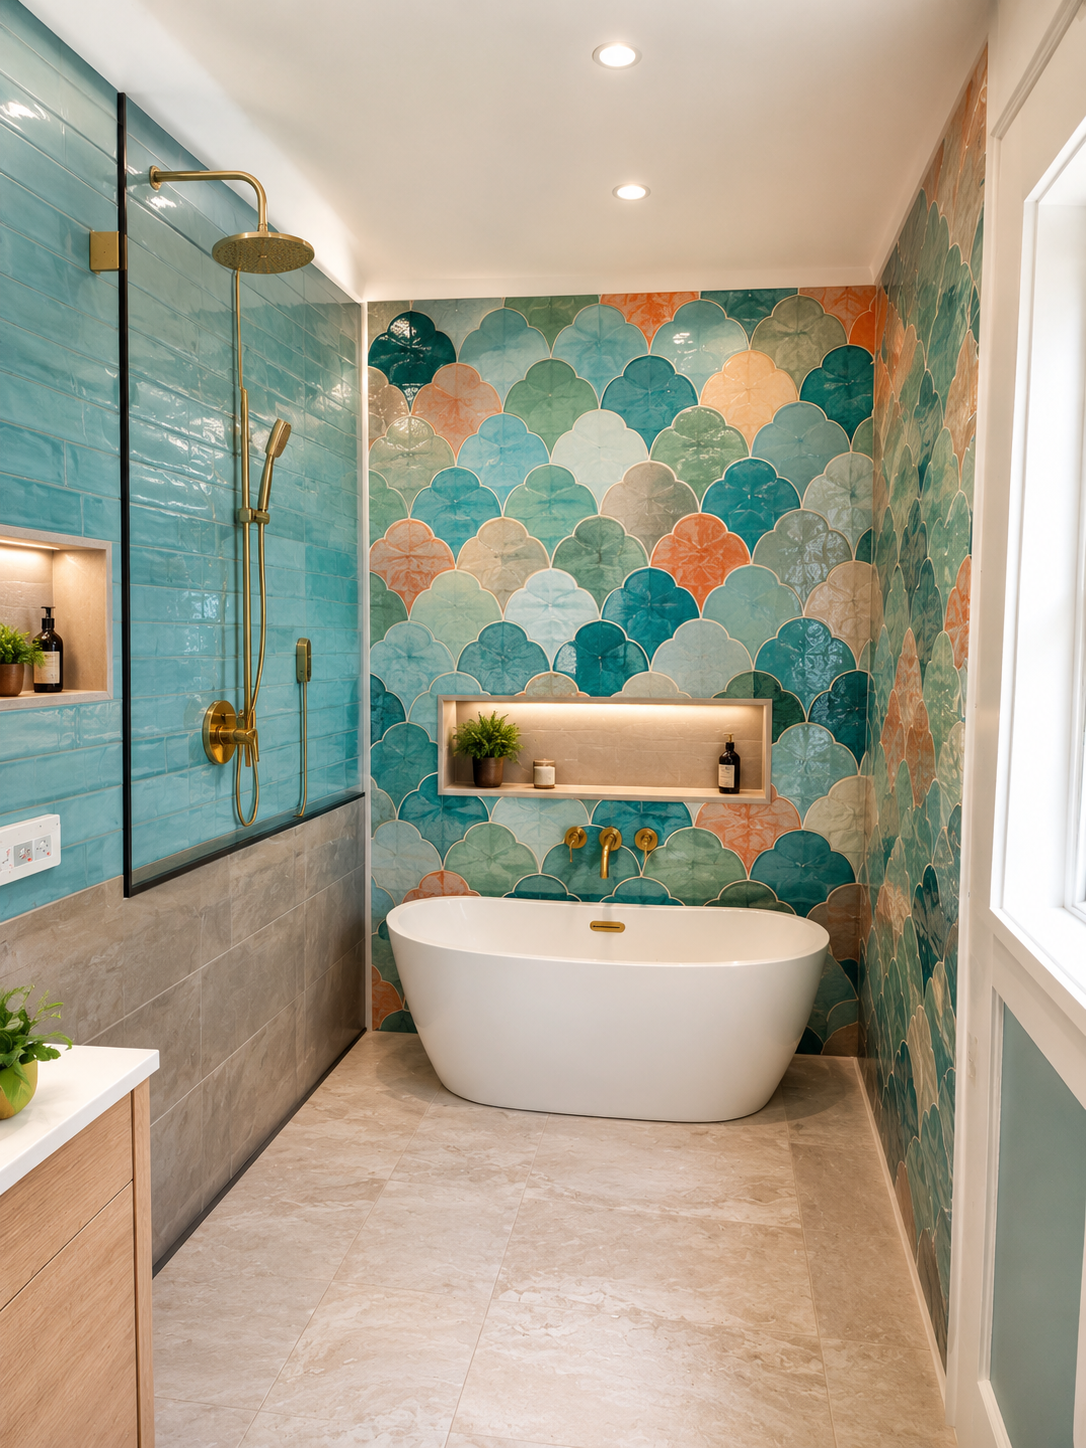
A niche should be part of the tile layout, not an afterthought. Ideally, the niche lines up with grout joints or is sized to suit the tile. This reduces awkward cuts and gives the detail a cleaner finish.
Some homeowners use a different tile inside the niche or on a feature wall. This can look great when it is subtle and coordinated. Too many accent tiles can make the shower feel busy. Often, texture, layout direction, or a slightly different tone is enough.
Edges, Trim, and Transitions
Tile edges need to be finished. Options include metal edging, bullnose tile, stone caps, or mitred corners. Metal edging is clean, durable, and available in finishes that can coordinate with fixtures. Stone or quartz caps work well on curbs, benches, and ledges.
A Shower That Looks Planned
The best tiled showers have a calm, finished look because every line was considered. Tile size, grout colour, layout, niche location, drain choice, and glass placement should all support the same design. Quality Homes & Renovations can help homeowners make these choices before installation begins, creating a shower that looks sharp, drains properly, and stands up to everyday use.

August 3rd, 2026