Wall Framing Basics
Framing Walls, A Basic Primer
The foundation of your new home is now capped with the subfloor. The open expanse of plywood is full of possibilities. Where is the kitchen? Your kids are dying to know where their bedrooms will go. With the floor complete, framing the walls is the next step.
The carpenters will use the plans to mark down the wall locations with a chalkline. This gives you a first glimpse of the size of the rooms and their location. They double check the measurements from each end of the home and make any minor adjustments that are needed.
Standards for Wall Framing
All over Eastern Ontario house walls are constructed the same way. The framing lumber for exterior walls is 2x6, which is needed to hold the correct depth of insulation. There are 3 ‘plates’ involved – the bottom plate, and the doubled up top plate. These are longer lengths of 2x6, which have the stud, window and door locations marked on them. Accuracy is essential at this step. Any errors made in stud & window layout will carry through to the final product and mistakes are costly and time consuming to fix.
Once the plates are laid out, studs and lintels are set at each location and nailed in place. For a 8’ ceiling, the studs are precut to a length of 92 5/8” and a 9’ ceiling has studs cut to 104 5/8”. At each window location there is a lintel, which is 2 or more layers of lumber nailed together and placed on edge with the wall. This supports the roof assembly above all windows and door. The lintels load is carried down to the foundation through jack studs, placed beneath the lintel and nailed to the full length studs nailed on each side. The lintel size, height and number of supporting jack studs is determined by the width of the opening and the load above.
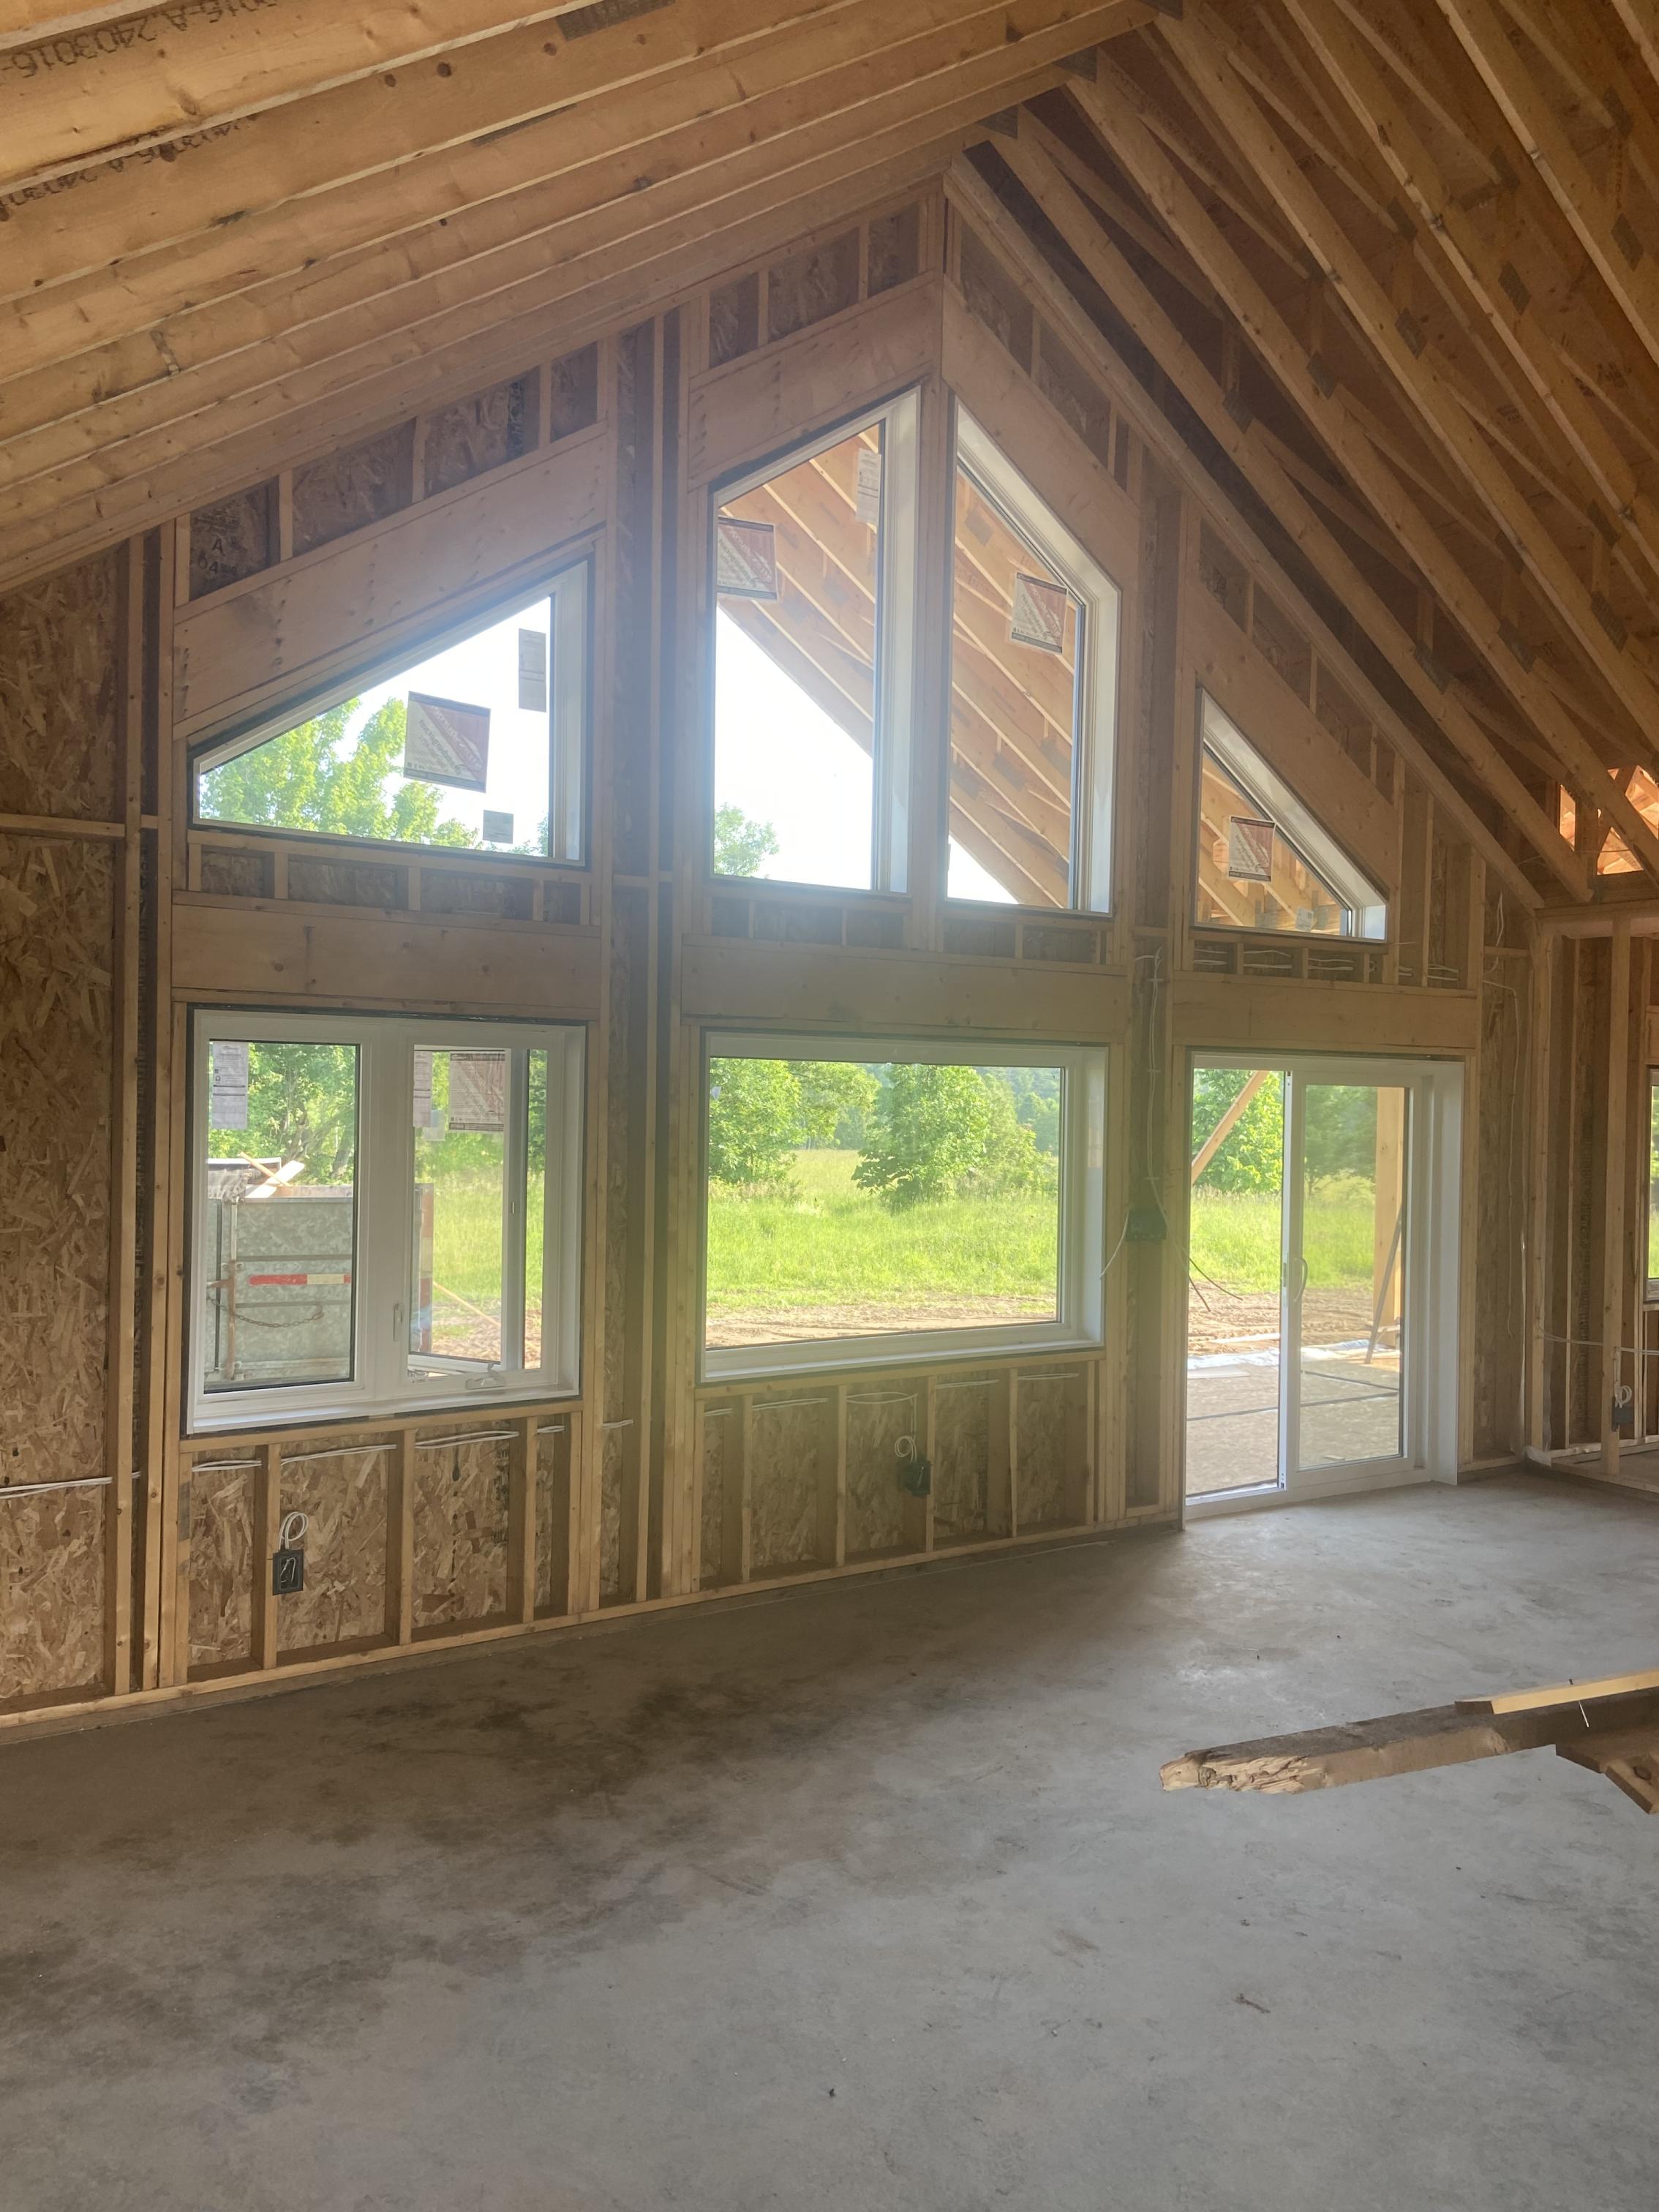
Wall Sheathing
When studs and lintels are nailed in place, the wall is ‘squared up’. The diagonal of the wall is measured and it is shifted until both diagonal measurements are the same. This ensures the wall is square and will sit plumb on it’s ends when nailed down to the level subfloor.
It is tacked in placed when square to prevent it moving and the sheathing is nailed down. The sheathing is usually 7/16” OSB, which provides rigidity to stop the wall from ‘racking’ or falling over on itself. The door and window openings
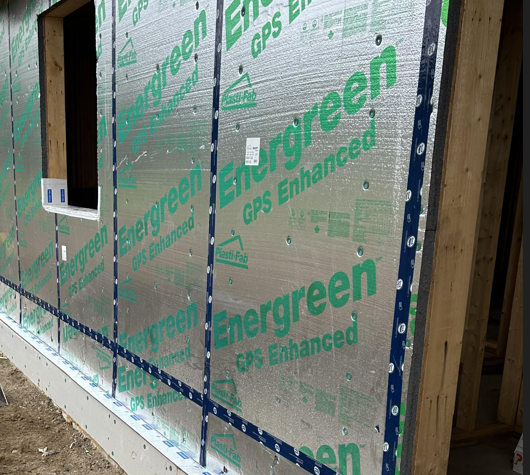
are cut out. In Eastern Ontario Ontario Building Code also requires a layer of continuous rigid insulation to be installed on the exterior of the walls. The standard is 1” foam, with an insulation value of R5. This is nailed on, and the seams and joints are taped to provide a water resistant barrier.
The completed wall is then lifted up by the carpenters and nailed down to the subfloor. It is braced and work begins on the interior walls. These interior partition walls are made with 2x4 lumber. Construction is the same as the exterior walls, except there is no sheathing installed. These walls are usually not load bearing walls, unless that is required by the roof or floor framing above.
Final Leveling and Straightening
When all the walls are complete, they are braced to be straight and plumb. If layout has been careful from the foundation up, this goes smoothly. Stringlines are used where needed to get the exterior walls ‘bang on’. Special attention is used around doorways and kitchen walls, where any deviation can have a noticeable impact on the finish. The completed bracing holds the walls rigid and ready to support the next step of the roof structure.

December 16th, 2024
